Overview
- You cannot register for classes until your enrollment appointment time begins.
- There are three steps to the registration process: Select Classes, Confirm Classes, and Review Results.
- You can register for one or more classes at a time.
- When registering for multiple classes at a time, the classes are processed in alphabetical order. If you have a certain class or classes you want processed first, select and register for those. Then return and select other classes to register for.
Step-by-Step Process
Register for Classes
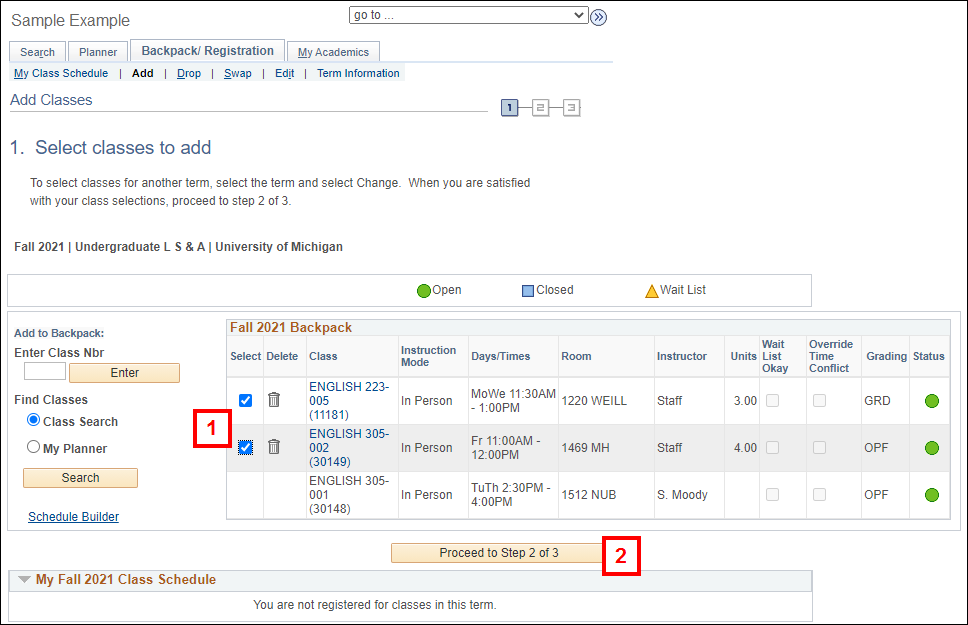
- From the Add tab under Backpack/Registration, click the Select checkbox for each class you want to
register for.
- You may need to select the correct Term before selecting the classes you wish to register for.
- Click Proceed to Step 2 of 3.
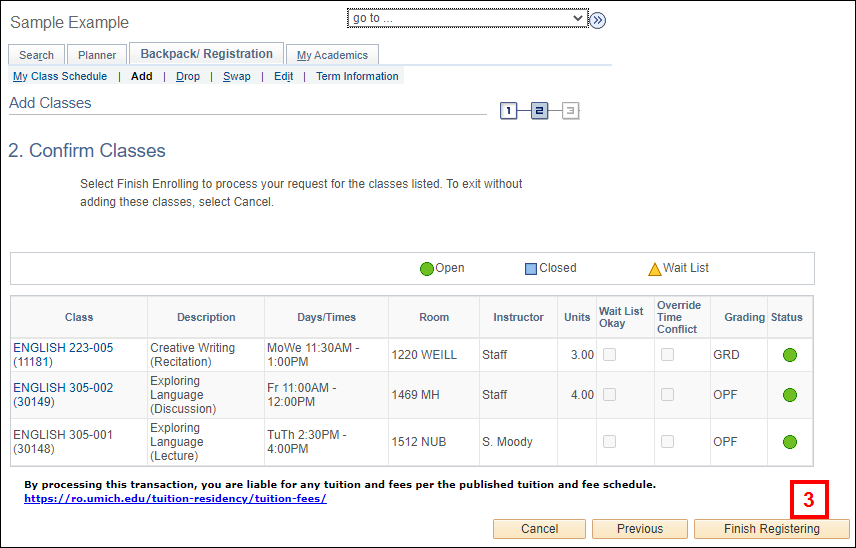
- Confirm the classes you want to register, and then click Finish Registering.
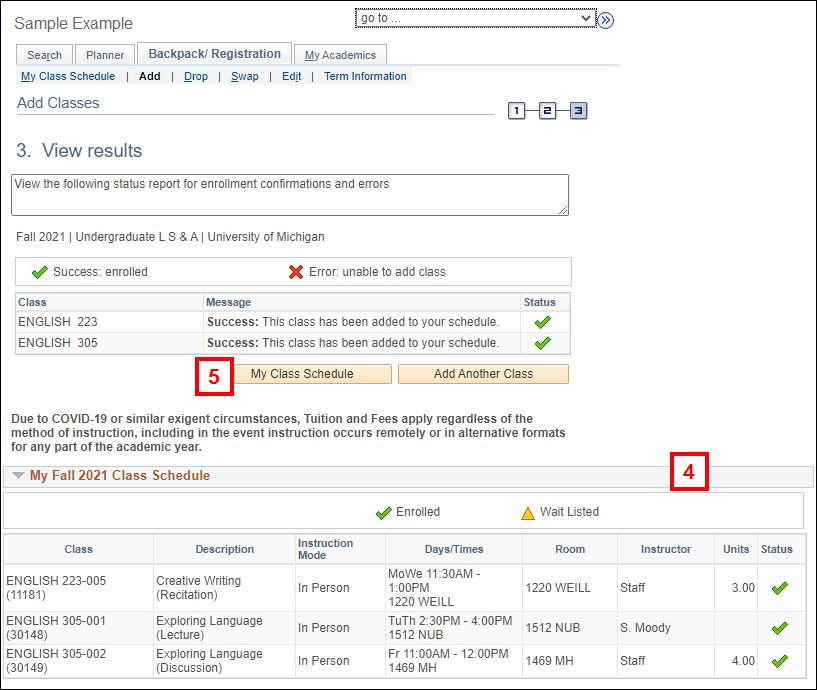
- View the registration results.
- If an error occurs, write it down. Once you leave this page you cannot return to it.
- If an error occurs, write it down. Once you leave this page you cannot return to it.
Select classes to add screenshot
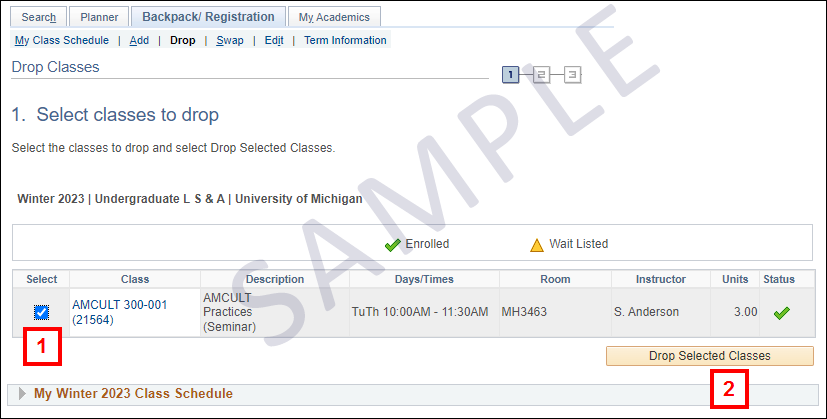
Drop a Class
- From the Drop tab under Backpack/Registration, click the Select checkbox for each class you wish to drop.
- You may need to select the correct Term before selecting the classes you wish to drop.
- Click Drop Selected Classes.
- Follow the prompts to finish dropping your classes.
- View the registration results.
- If an error occurs, write it down. Once you leave this page you cannot return to it.
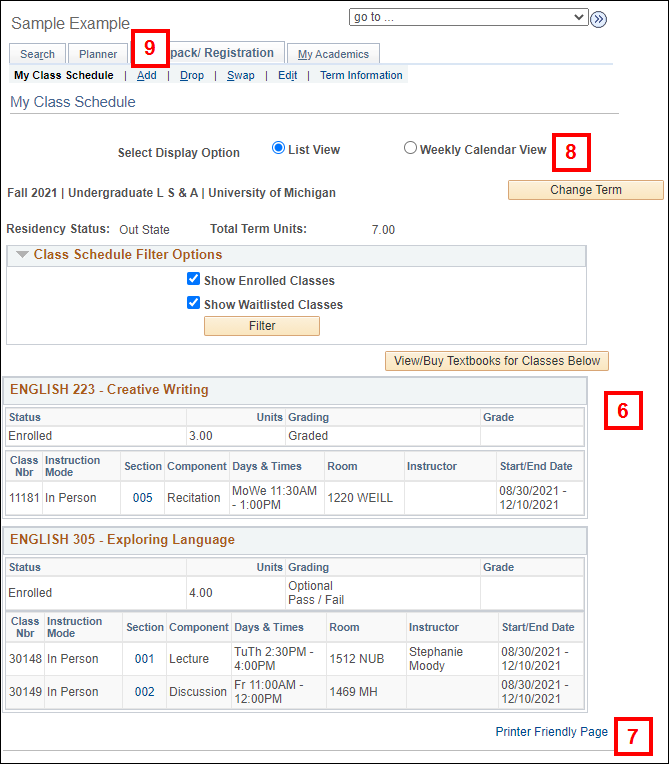
View Class Schedule
- Click My Class Schedule.
- Review your class schedule.
- It is important to confirm that you are registered in the appropriate classes
- To print a hard copy schedule, click Printer Friendly Page.
- To see a weekly view of the class schedule, click the Weekly Calendar View radio button.
- To return to the Add/Backpack page, click Add.